

Spring Lawn Aeration: 10 Easy Steps to a Lush, Green Lawn
Aeration and Feeding for Lush Growth
Revive your lawn this spring with aeration, light dethatching, and a timely nitrogen-rich feed. Highveld gardeners learn how to wake winter-dormant grass and boost growth just before the spring rains for a lush, green lawn.
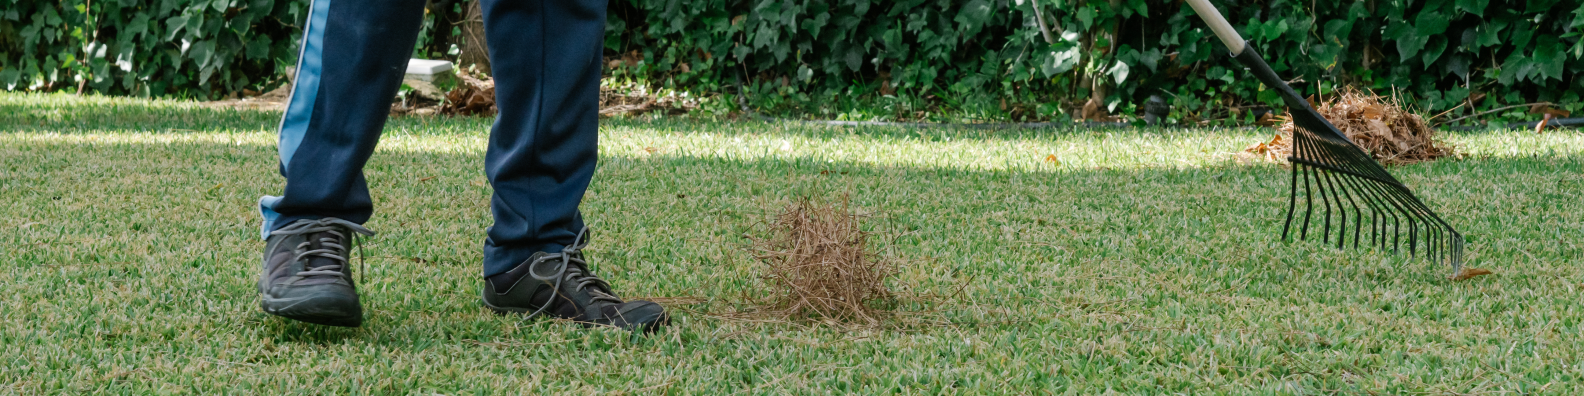
Wake Up Your Lawn with Aeration & Cleanup
If you followed our August tips (keep blades high, don’t overwater, patrol weeds), September is where we go hands-on: remove winter build-up, open the soil, and set the lawn up to drink the first rains.
Spring Lawn Aeration: Tools You Need:

• Rakes: spring-tine lawn rake (gentle), thatch rake or electric scarifier (more aggressive).
• Aerators: garden fork, hollow-tine/manual core aerator, drum/spike roller, “aerator sandals” for small areas.
• Topdressing gear: bucket, straight-edge/broom/back of a rake for brushing in.
• DIY options: a sturdy fork or metal rod/screwdriver to make holes; an old board with long nails/screws strapped to shoes; a broom handle with four long screws spaced 8–10 cm apart to “stamp” holes.
Step-by-Step Spring Lawn Aeration Guide:
1.Check timing and moisture
Aim for a dry-to-slightly-damp surface (not soggy, not bone-dry). If you can push a screwdriver into the soil with firm hand pressure, you’re good to go. Highveld gardeners: early September is ideal, especially a week or two before the first proper rains.
2. Mark hazards
Flag pop-up sprinklers, shallow cables, and exposed roots so you don’t damage anything during raking or spiking.
3. Lift the winter thatch (lightly)
Use a spring-tine rake to comb the surface in two directions. You’re removing the papery, grey layer without scalping the crown. For kikuyu, keep this gentle in early spring; save aggressive scarifying for later spring if needed. For shade grasses (LM/Berea), keep it very light. Collect debris for compost.
4. Target mats and matted patches
If you hit areas that feel “spongy”, do a few firmer passes or a single low setting on an electric scarifier. Stop as soon as you see green crowns—thin is fine; bald is not.
5. Aerate Compacted Soil for Healthier Grass
a) spike aeration (quick, small gardens): Use a garden fork or spike roller. Push 7–10 cm deep, holes 8–10 cm apart, working in a simple grid. Rock the fork slightly to crack the soil—not so much that you lift sod.
b) hollow-tine/core aeration (best for heavy traffic/clay): Remove soil plugs 8–10 cm deep, 10–12 cm apart. Leave plugs to dry, then break them up with your rake—they become free topdressing.
6. Brush in a thin topdressing
After aeration, apply
a 5–10 mm layer. Use 60:40 washed river sand:compost on clay; 80:20 compost-rich mix on sandy soils. Sweep with the back of a rake so mix falls into the holes. This evens minor bumps, improves drainage on clay, and helps sandy soils hold nutrients.
7. Patch thin spots (optional but worthwhile)
Lightly scratch the surface, sprinkle lawn seed matched to your existing grass, cover with 3–5 mm of topdressing, and mist to settle. Keep damp until germination.
8. Water to settle—then let it breathe
Give a single, deep watering to settle topdressing and activate microbes. Then pause daily watering—let air circulate and roots chase moisture down.
9. First Spring Feed After Aeration
3–5 days after aeration (or just before forecast rain), feed evenly at the recommended rate. A nitrogen-forward spring fertiliser such as TurboGrass® helps green-up and thickening. Water well if rain isn’t due.
10. Resume gentle mowing
Once the lawn lifts and thickens, mow weekly at a moderate height. Little-and-often mowing encourages side-shooting and a denser sward.
Fresh tips to get more from the same work:
• The bucket test: Pour a litre of water on an aerated and a non-aerated patch. If the non-aerated puddles or runs off, prioritise more holes there.
• Don’t overdo it: More holes are good; deeper isn’t always better. Stay ~7–10 cm to avoid root damage.
• Pause after heavy rain: Skip aeration if soil is saturated—you’ll smear/clog holes and compact further.
